How To: DIY 3 Wire Power Supply Cord Installation
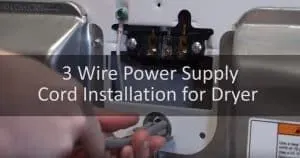
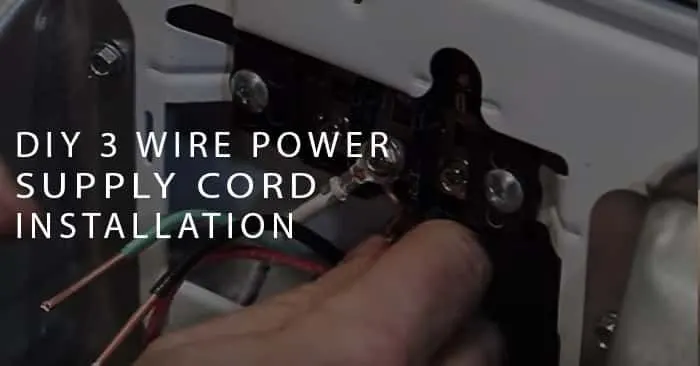
Here, using a DIY Whirlpool Appliance Repair Self Help video, we show you how to perform a 3 wire power supply cord installation.
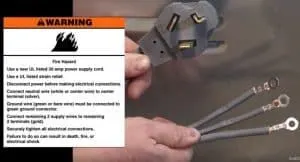
Warning! Before You Begin...
- Use a 3 wire cord only where local codes permit. Only use a new UL listed, 30 amp power supply cord and a UL listed strain relief.
- Always disconnect and shut off power before handling wires and appliance electrical components.
- Remember to securely fasten and tighten all connections. Failure to do so can result in fire, electrical shock or death.
How To: DIY 3 Wire Power Supply Cord Installation
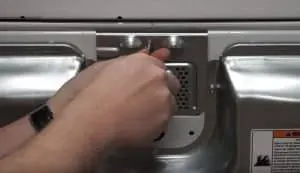
1. Remove the terminal block cover.
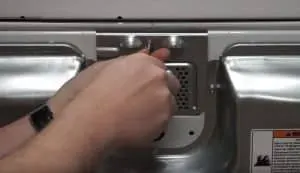
2. Attach the UL power supply cord strain relief.
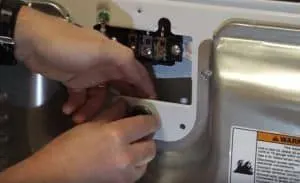
3. Pull the power supply cord through strain relief. Be sure insulation on the cord is inside the strain relief.
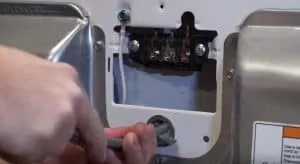
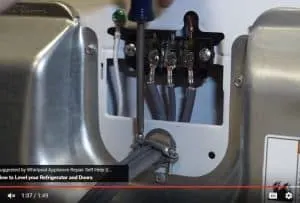
4. Connect the white wire of the cord to the center terminal block screw (silver). (Notice how in this tutorial, the three applicable wires are covered in grey insulation. The white wire shown in the picture below is not a part of the 3 wire cord.) Tighten the screw.
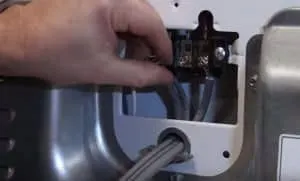
5. Connect remaining two remaining wires to the outer terminals (Gold). Tighten the screws.
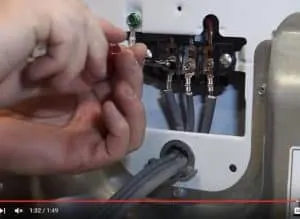
6. Connect the ground (green wire) to the green / brown connector. Tighten the screw.
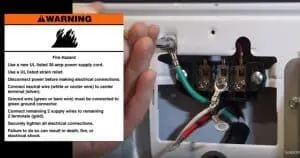
7. Reattach the terminal block cover and tighten screw. Remember, always refer to your use and care guide!