Step-by-Step Guide: How to Clean Refrigerator Coils
There are some refrigerator maintenance tips we regularly check off our to-do list. Cleaning out the refrigerator? Check. Learning how to change refrigerator water filter? Check. Cleaning the condenser coils? Not so much. Not only does this task rarely get checked off, but many aren't aware of its importance. We'll review how to clean refrigerator coils with easy steps that accomplish the task in minutes.
How to Clean Refrigerator Coils and Why It's Important
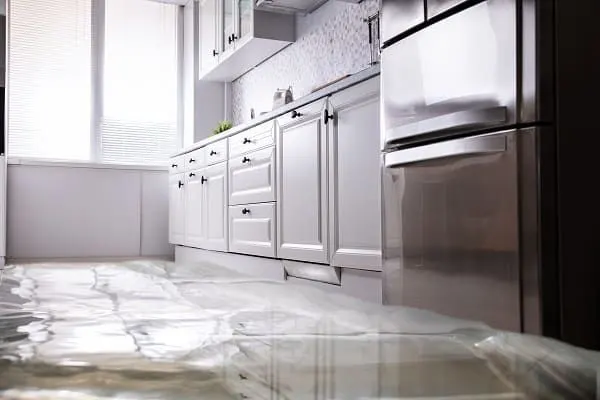
No one likes extra work, but cleaning condenser coils is not only quick and easy; it's vital to your refrigerator's function. When condenser coils get coated in dust and dirt, your refrigerator has to work harder to maintain its cool temperature. While this can lead to higher electrical bills every month, it can also result in breakdowns and repairs.
Regular cleanings 1-2 times per year ensure that the coils are free of dust and dirt and avoid overworking your refrigerator. Here's how to clean refrigerator coils in 5 simple steps.
Step 1: Gather Supplies
Not much is required to clean condenser coils. All you need is a dust mask to avoid breathing in dust and debris and a vacuum cleaner with a narrow hose attachment. We also recommend an appliance cleaning brush to gently clean hard-to-reach areas.
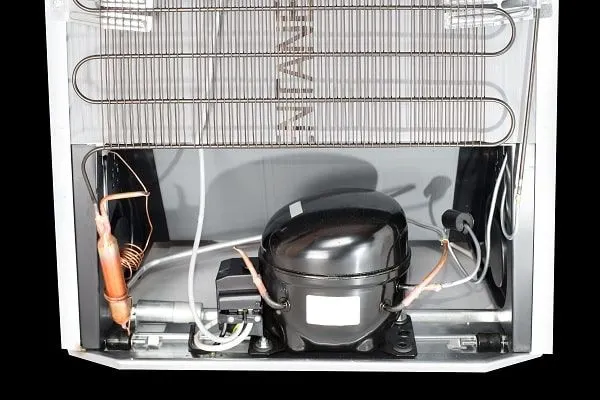
Step 2: Locate Refrigerator Coils and Unplug Refrigerator
Check your user manual to confirm where your refrigerator's coils are located. They're typically found at the bottom of the refrigerator behind a front base grille or on the back. If the coils are on the back of the refrigerator, carefully pull it away from the wall to unplug it and access the coils.
If the coils are behind a front base grille, unplug the refrigerator and remove the grille to access the coils. Before you get to work, put on your dust mask.

Step 3: Vacuum Visible Dust and Debris
Clean refrigerator coils and the area around them with the narrow hose vacuum attachment. Gently use the hose attachment to remove all visible dirt around the coils as well as any debris on the floor.
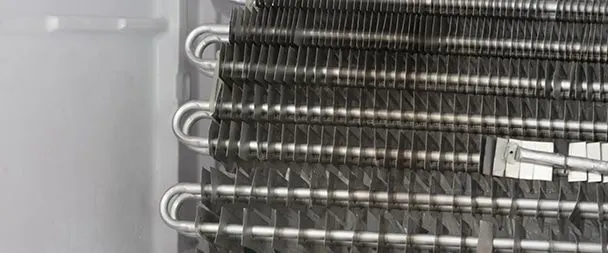
Step 4: Brush Coils with Appliance Cleaning Brush
With your appliance cleaning brush, gently brush the coils to loosen and remove small particles of dust and dirt. Use the brush's flexibility to bend and twist it, reaching every corner and crevice.
Step 5: Vacuum One More Time and Reposition Refrigerator
Use your vacuum attachment one last time to remove any dust and dirt that the appliance brush may have dislodged. Vacuum the floor at the base of the refrigerator before plugging it back in, repositioning it, or replacing the base grille.
Whether you need to clean refrigerator coils or solve any other appliance problem, Tampa Appliance Parts is the refrigerator parts Tampa you need. Call us to help with any maintenance or repair.